
It’s been a while since my last DIY so I’m really excited about this!
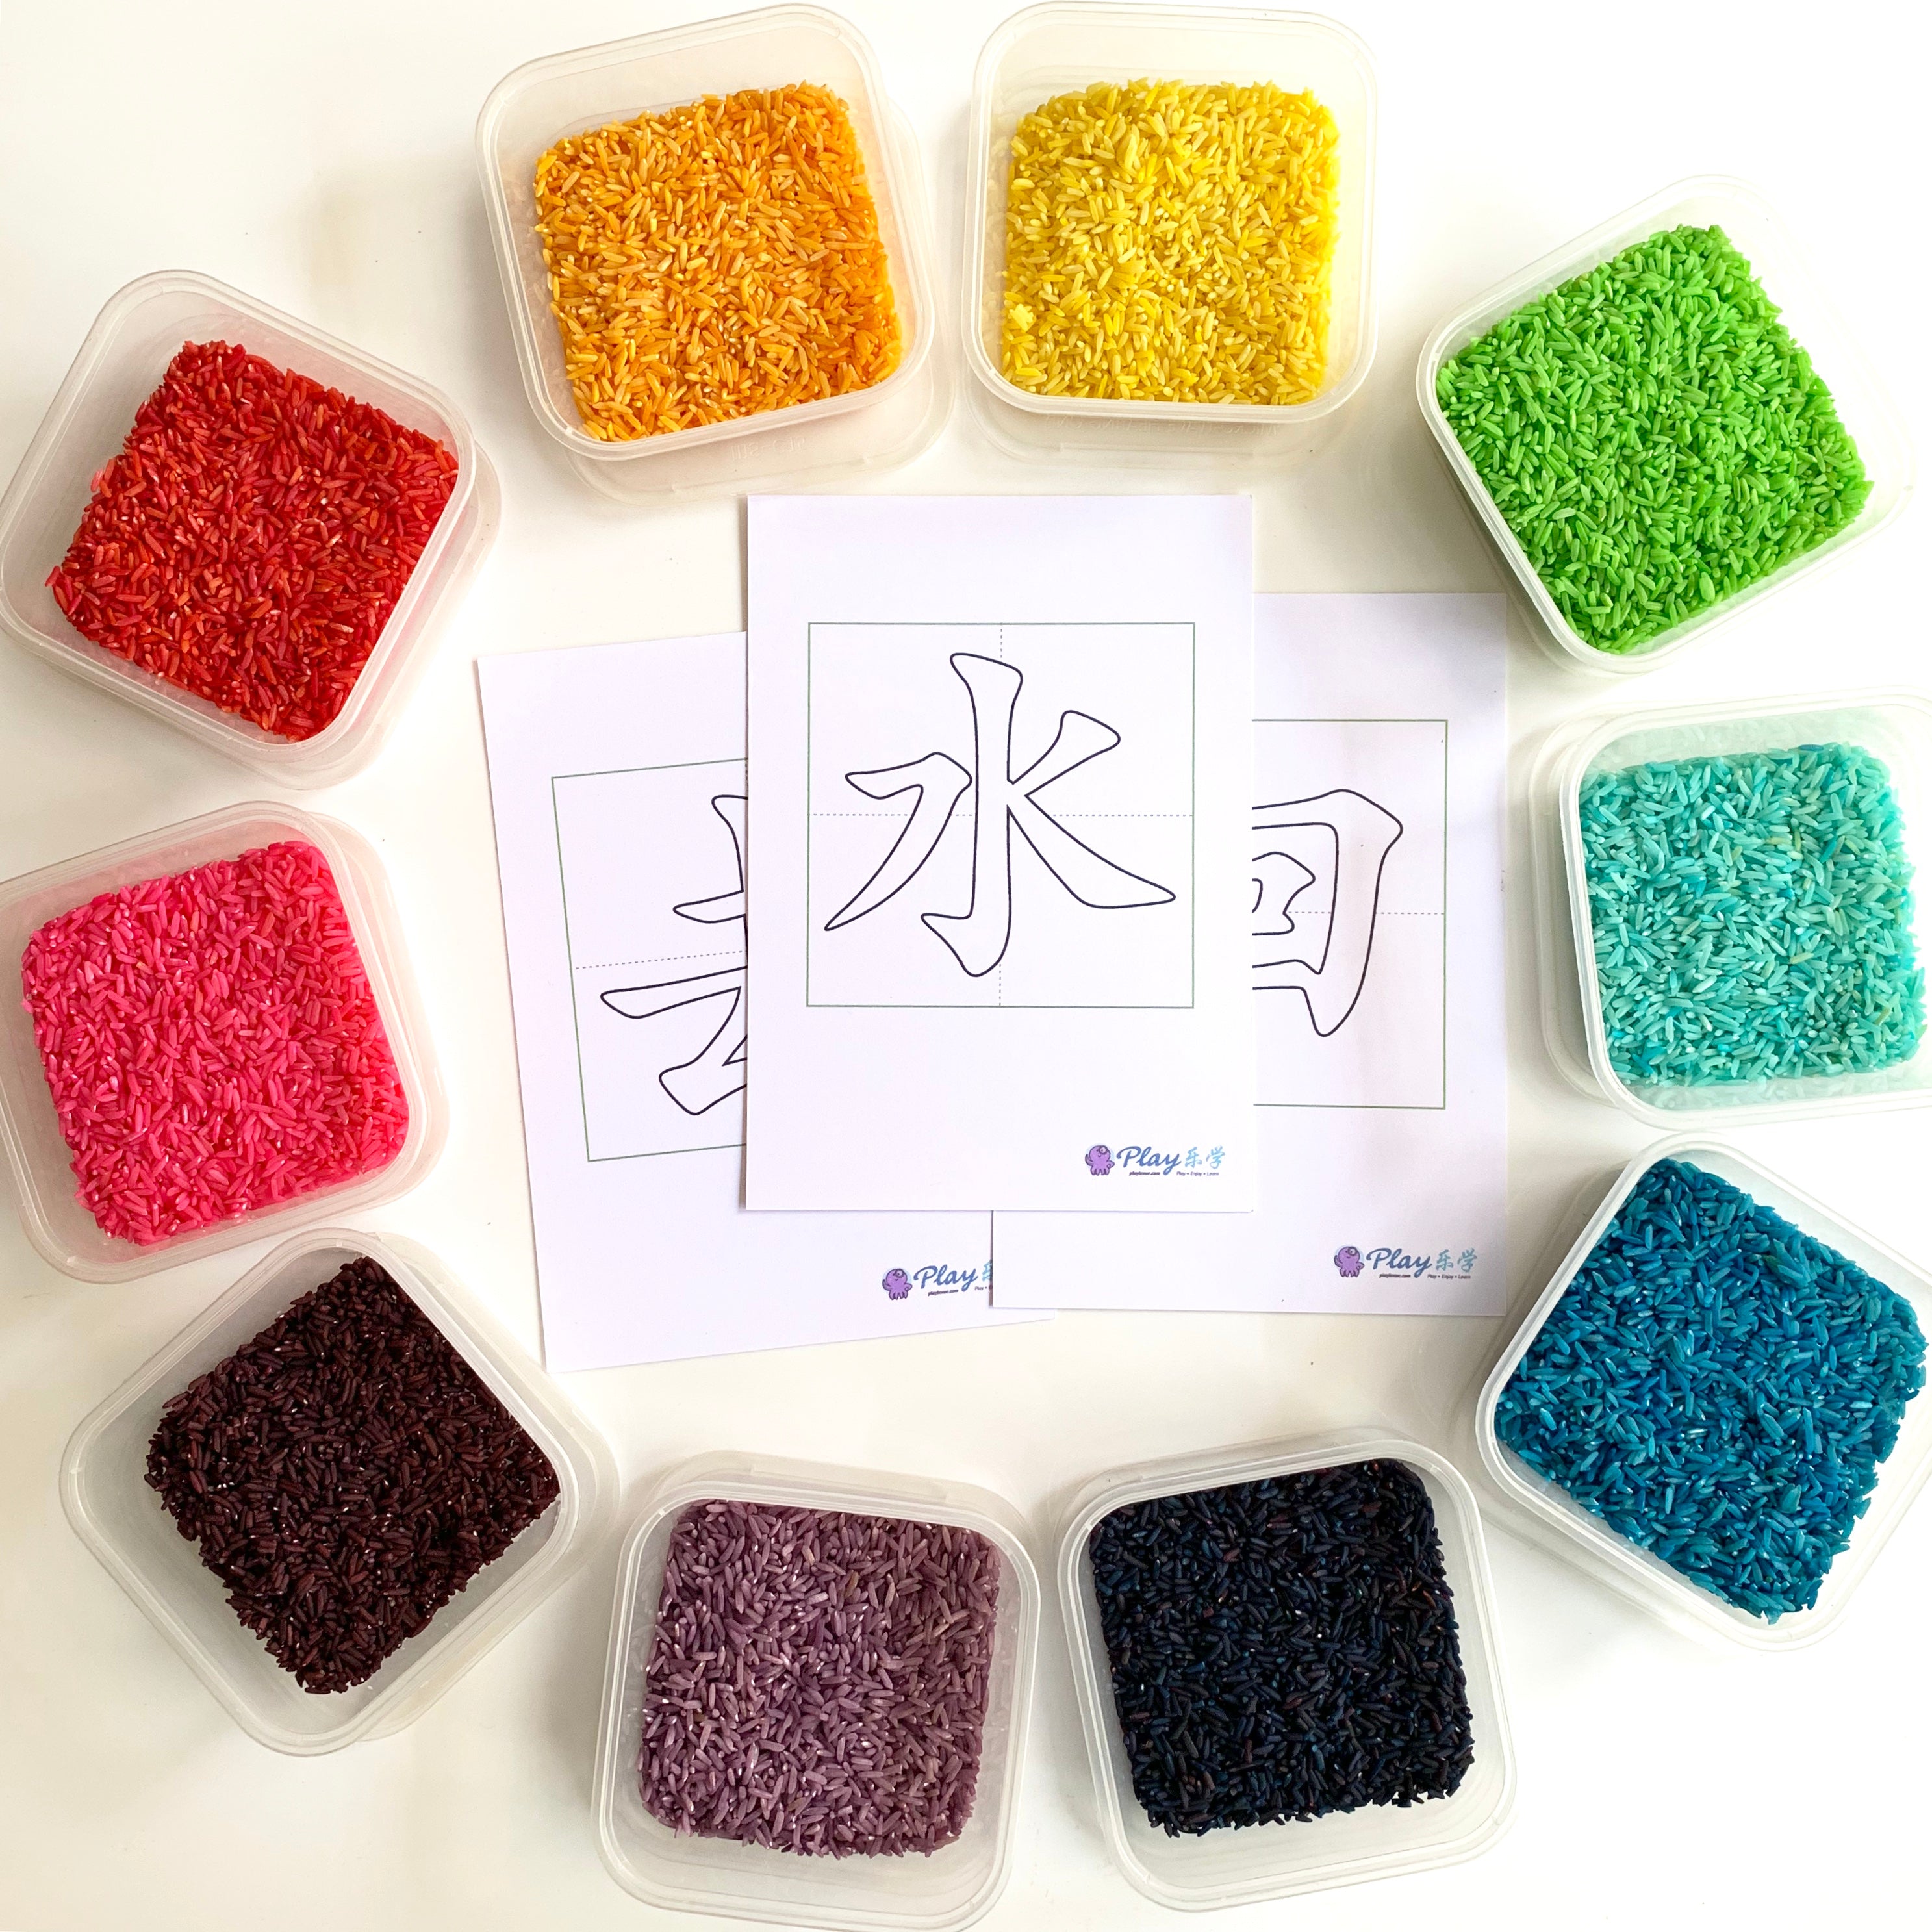
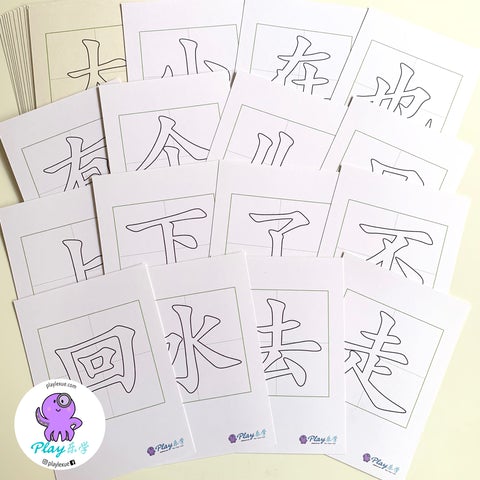
This series of character cards printables is based on the 红蜻蜓 Odonata 1a 1b writing characters.
Characters include:
1a: 大、小、在、也、有、个、儿、只、上、下、
1b:了、不、回、水、去、走、来、会、出、飞、门、后、开、心、多、天、人、坐、公
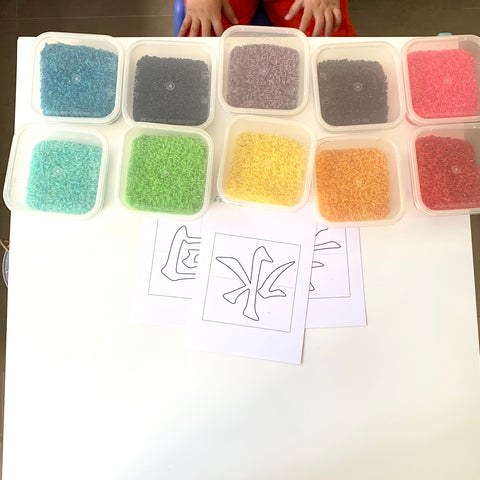
Creating DIY Chinese tactile cards with Mr5.5

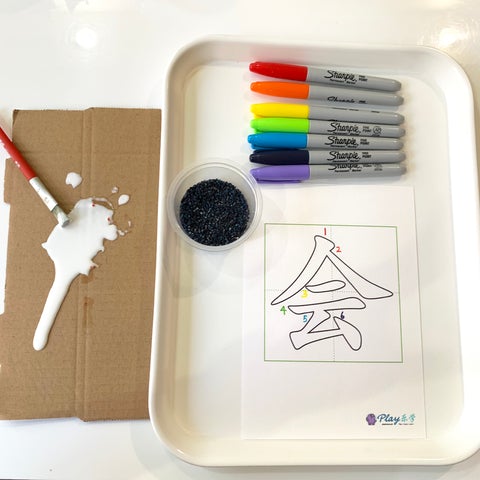
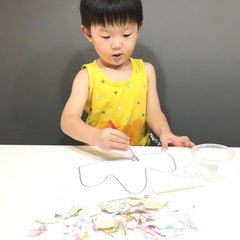
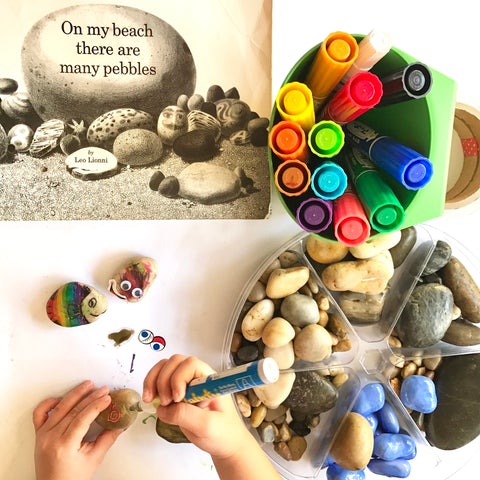
This was the invitation to create I set up for Mr5.5. The first thing he did was to rearrange my Instagram worthy set up into this more practical one and happily exclaim “妈妈,我把材料准备好了!” (Mama, I have the materials ready!)
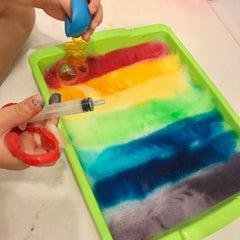
Making coloured rice
Mr 5.5 and I made the coloured rice from a bag of expired rice a while back. Yes, get the children involved! It’s fun and they can learn about colours AND math in Mandarin in the process. There are many ways to make coloured rice (just google it) but this is our lazy-mum-but-want-to-involve-child method. We used our plastic containers from our soy pudding for this. Add a few drops of food colouring in a small cup of vinegar.
*When experimenting, it is better to start with the smallest amount of colouring and vinegar. The more vinegar you use, the longer the rice takes to dry. The more food colouring you use, the darker the colour of the rice (you cannot undo this). So start small and you can add more colouring for a darker colour later.
Then add some rice into the container (about half full at most) and let child pour in the coloured vinegar. Put the lid on the container and let your child shake the mixture. Pour the coloured rice out on a tray to dry. We left it out to dry for a day and poured it back into the container to store. We made 3 colours a day as we only had 3 trays to dry the rice each time.
Making the tactile cards – rainbow character version
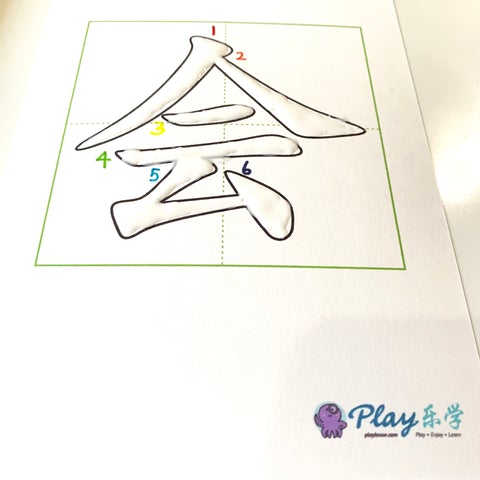
Mr 5.5 has already learnt how to write these characters in the correct stroke order so this is like a fun way to revise with him. This is also a subtle way for me to assess if he remembered what I taught him. I asked him to write the numbers beside each stroke. Then I demonstrated how to apply glue to just 1 stroke.
I gave him the choice of making a rainbow character (one stroke one colour) or a single coloured character (faster to make). He chose rainbow so here are the steps we took.
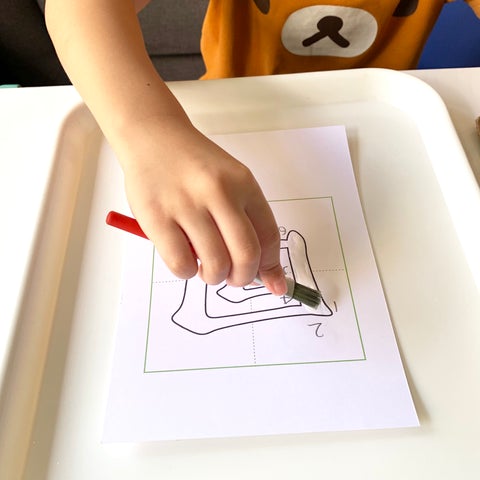
Below is my lazy mum set up for glue. Cut a strip of cardboard from one of my online shopping boxes, pour out an amount of glue I am comfortable with for the child to handle. Put out the glue brush. I use cardboard because then I won’t need to wash and I don’t have to worry about Mr 5.5 squeezing out too much glue.
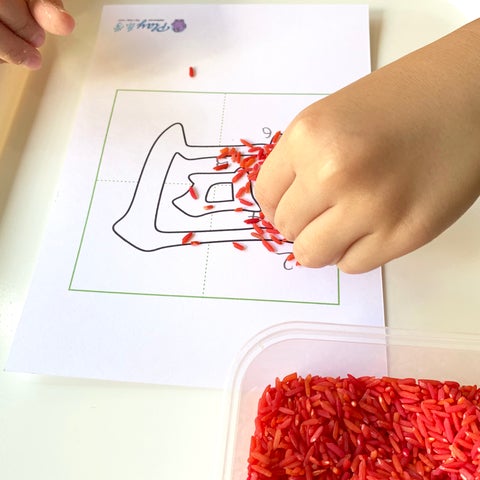
Next, I showed Mr5.5 how to pinch a small amount of rice to sprinkle over the area with glue. Do remind the child not to touch the rice on the card. You will get a mess of glue & rice on child’s fingers and have to stop to clean child’s fingers before you can continue.
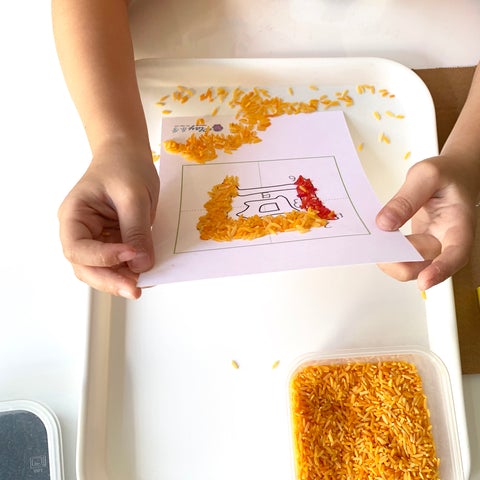
Next, I showed Mr5.5 how to gently remove the excess rice from the card. I had him hold up the card and gently tap the card on a tray to collect the excess rice (so we can reuse it.) I also showed him how to move all the excess rice to a corner of the tray, followed by pouring the rice back into the rice container. You need to do this after every stroke (colour) in order to collect the excess rice to reuse. Mr 5.5 did not mind the repetition of steps and in fact rather enjoyed his improvement (didn’t spill rice, could do it faster).
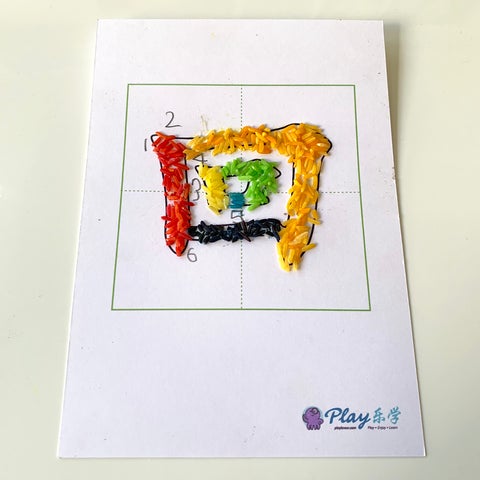
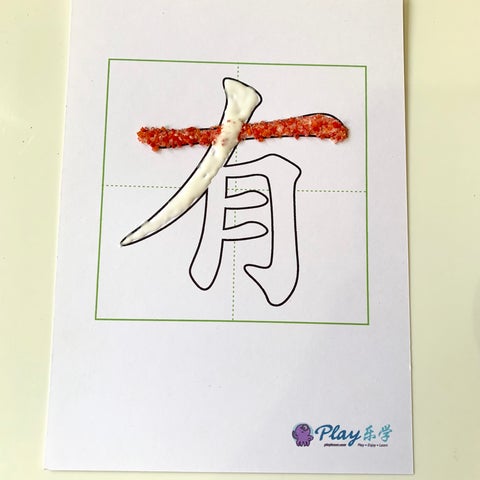
The result for the first stroke looks like this. I’m not too happy about the rice jutting out of the outline.
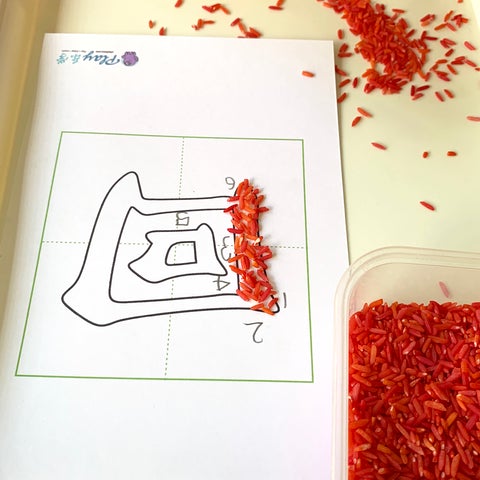
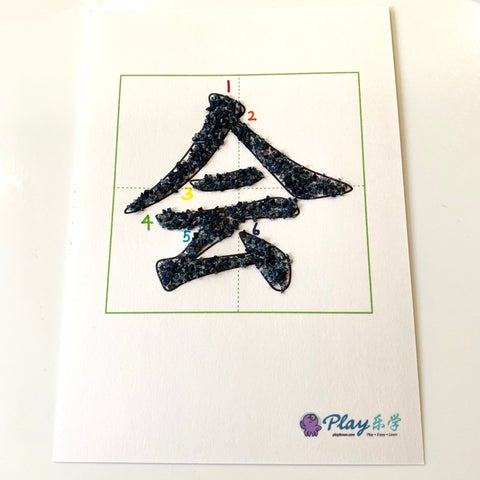
This is our end result. Mr 5.5 was very pleased with his creation. I was still mildly annoyed by the rice jutting out of the outlines so…
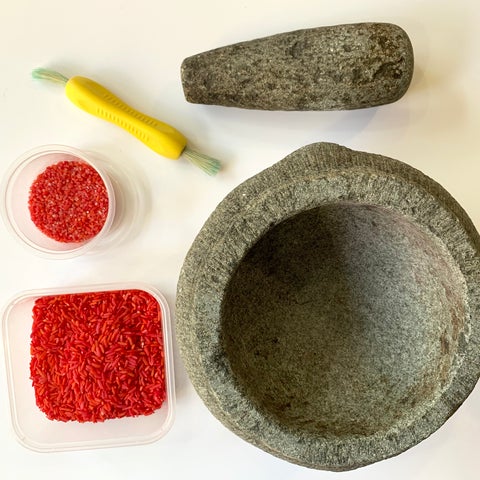
I dug out my grandmother’s mortar & pestle out to grind the coloured rice! haha. You can use sand or other finer grains but I just wanted to use what I had on hand. No glitter for me since I cannot imagine the clean up.
I reused the plastic tubs from frozen baby food to store the crushed coloured rice. The random yellow brush is for cleaning out the crushed rice powder in the mortar. I brush it back into the container so that it will not contaminate the next colour.
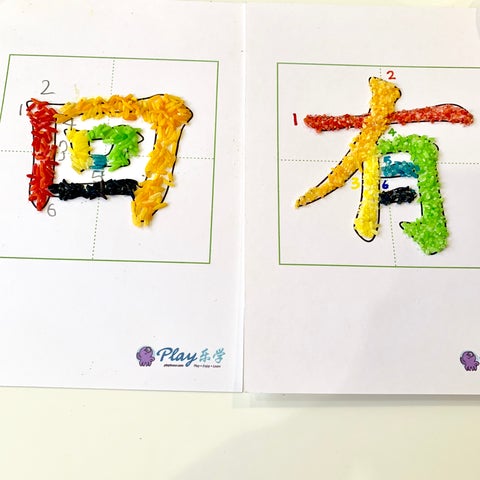
The effect of crushed coloured rice. I like the effect of this waaaaay better!
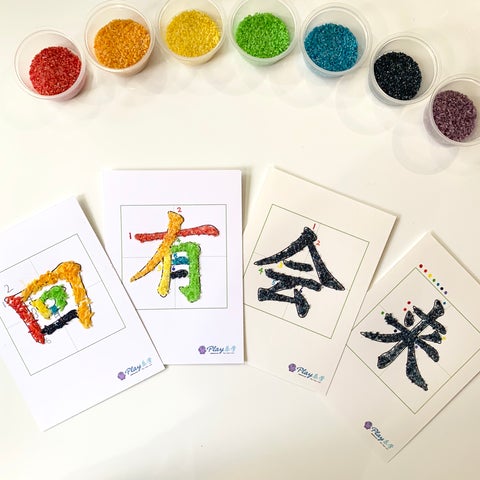
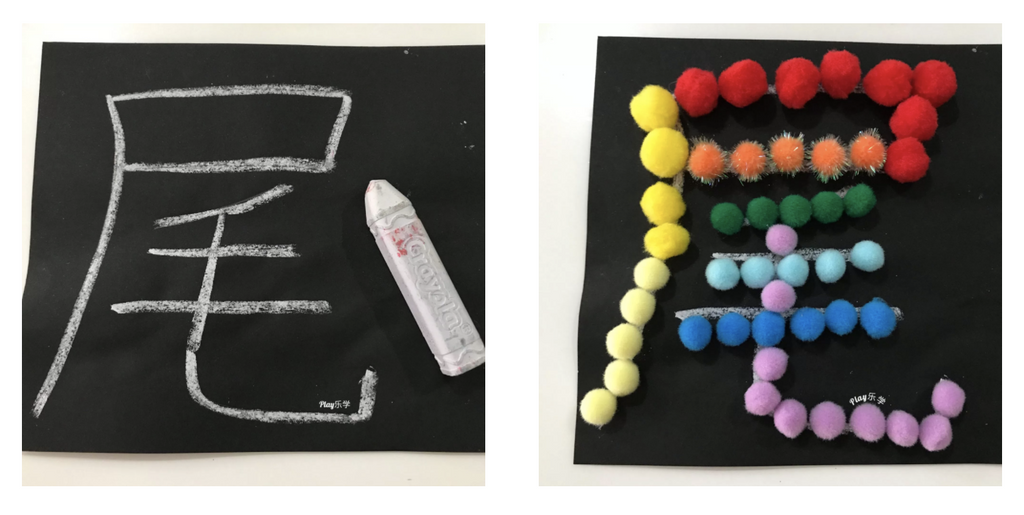
Comparison of normal coloured rice versus crushed coloured rice on the DIY Chinese tactile cards. Okay, the normal coloured rice card was made by Mr5.5 and the crushed coloured rice card was made by me so do note the difference in skill level if you are trying to recreate the crushed coloured rice effect with your child.
Making the tactile cards – single colour character, coloured number version
I was curious which style will be more effective for learning (occupational hazard haha) so I went on to make more variations.
The single coloured character is easier and faster to make as you can apply glue to the entire character all at once. You can also skip the clearing excess rice off tray steps. Do keep this in mind if you are making this with a young child or child with short attention span for such crafting activities. Mr 5.5 was happy to make one character and went off to build Duplo monsters while I indulged in making variations. Making teaching resources spark joy for me, not as much for Mr 5.5 but that’s okay! Every child is his/her own person.
Making the tactile cards – single colour character, coloured dots version
I also tried a version with coloured dots for stroke order, like these ready made ones that we have in the store.
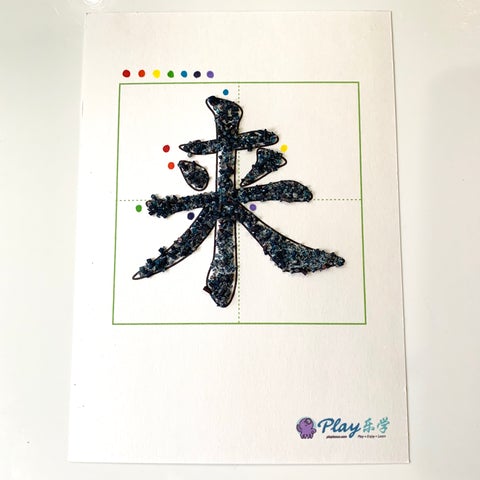
Can’t wait to let Mr5.5 try them out to see which design I should make for the rest of the characters.
If DIY is not your cup of tea or you simply do not have the time, check out our Montessori sand character cards and Mandarin sensory cards
More Chinese character writing resources here.
More Montessori friendly resources here
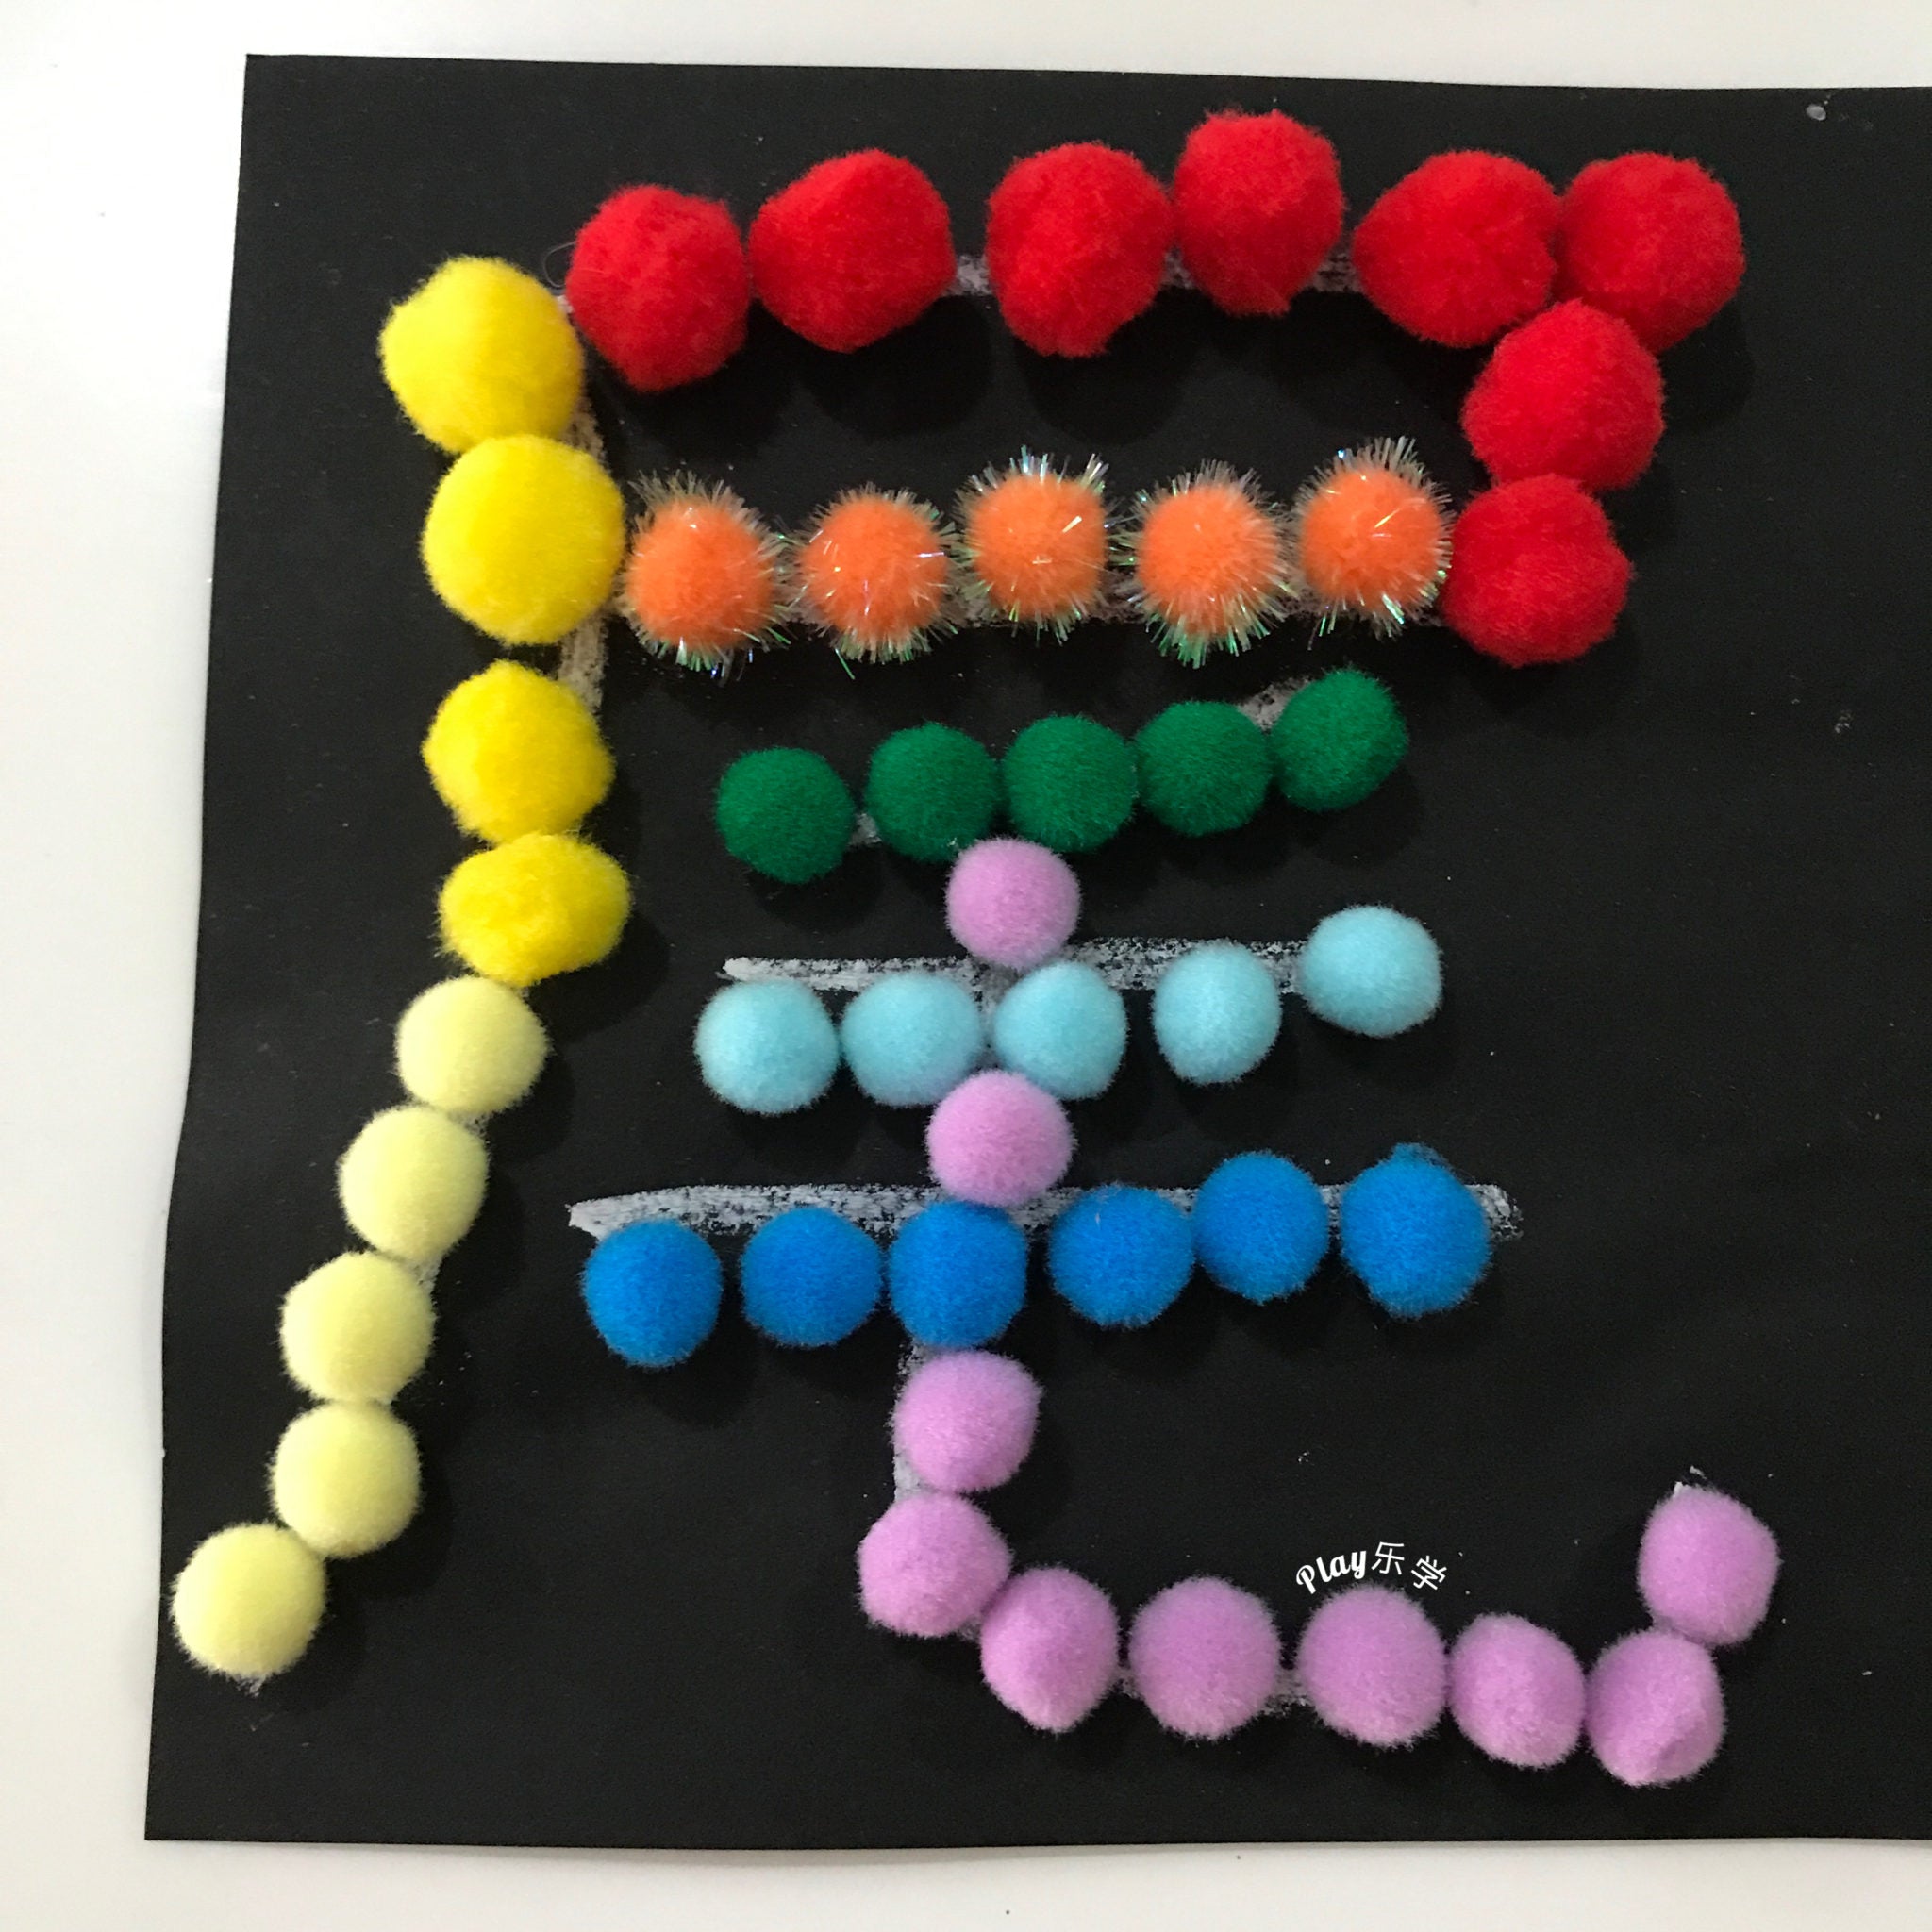


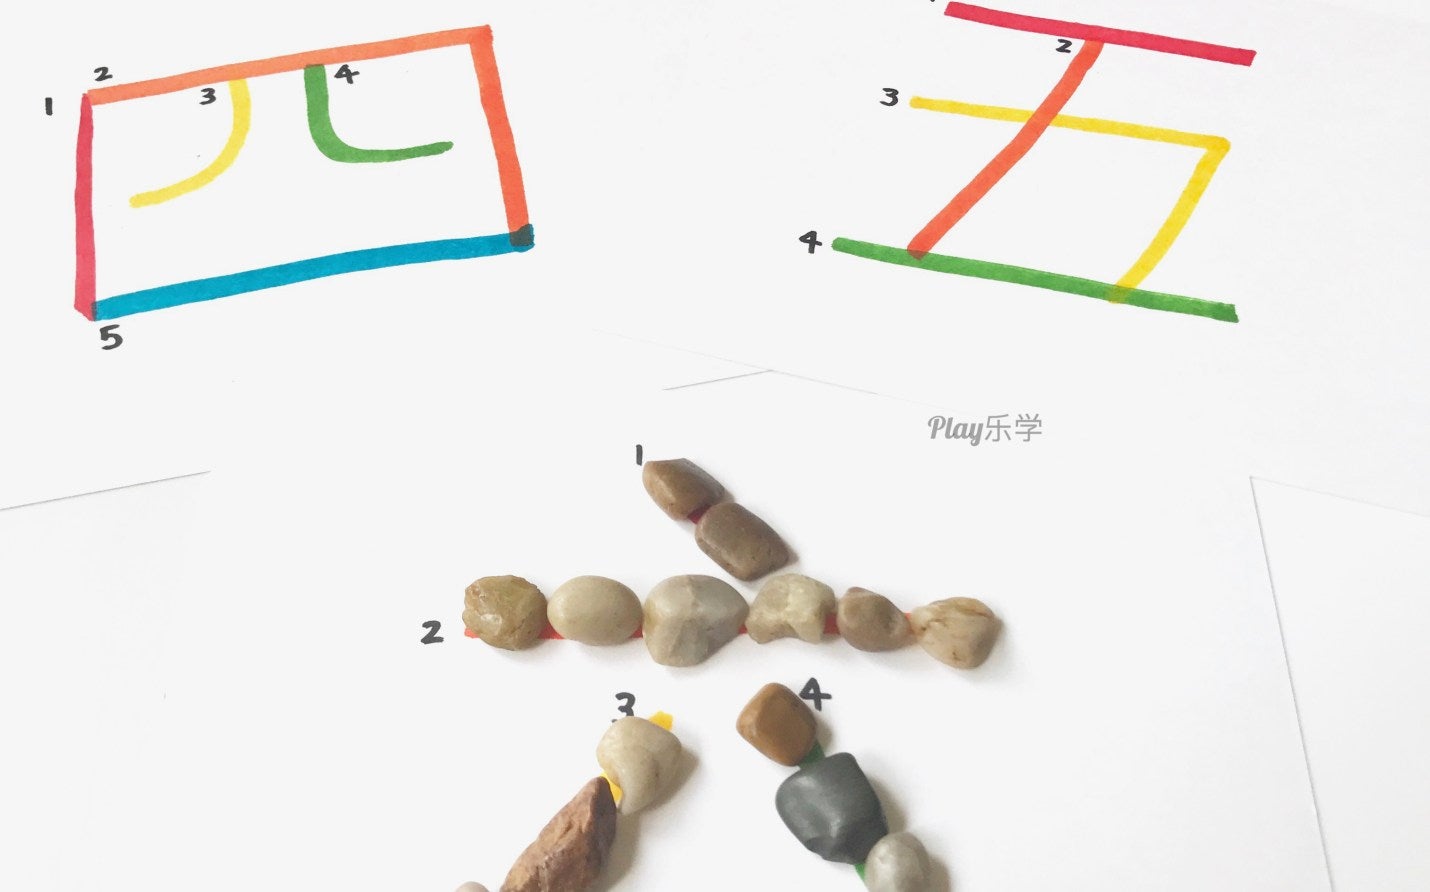
 Push pin Chinese Characters A great fine motor exercise to strengthen those little fingers AND get some exposure to the stroke order of Chinese characters. I drew dots of different colours according to the 笔画strokes. For example, red dots for the first stroke, orange dots for the second stroke and so forth. QR seems to approve of this activity (we only do a maximum of 2 characters at one sitting) but it might not be practical for characters with many strokes.
 Corkboard Push pin Character match QR loved this! It’s really simple to set up too. All you need are a cork board, plain (round) labels, push pins and rubber bands. I got all these from Daiso. The characters are coloured for control of error*. If you are worried about letting a child handle “dangerous” items like push pins, here are some tips on how I introduced them to QR since he was about 2.5 years old. I let QR press his finger on the tip of a pencil and told him “sharp”, then I invite him to gently touch the tip of the push pin or use it to gently touch his arm. He got the idea almost immediately. I do still supervise push pin activities as I am worried about them dropping onto the floor and into my cat’s mouth. We also count the number of push pins at the start and end of each activity (sneaky math) to make sure all are accounted for


